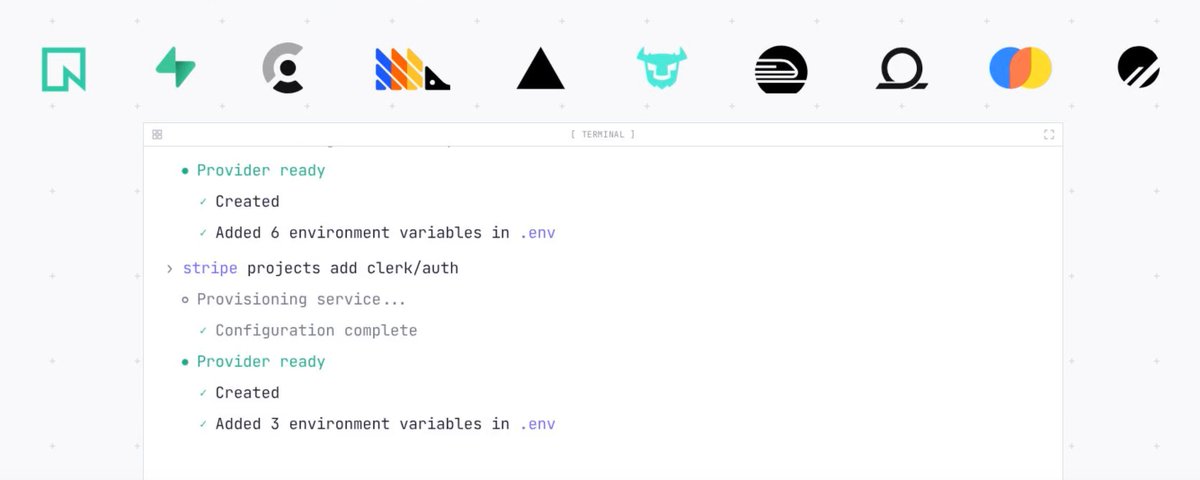

We're rolling out Stripe Projects, a new tool in the Stripe CLI that lets you provision real services from the terminal, keep resources in your provider accounts, sync agent-ready credentials safely, and upgrade to paid tiers when you need more, without rebuilding your stack or leaving your terminal.
Go from a local repo to a working stack backed by provider accounts you own. Attach hosting, a database, auth, analytics, and AI-friendly building blocks, then sync real credentials back into your environment safely. Upgrade your service to a paid tier and have Projects handle payment without re-entering payment details across provider dashboards.
Step 1: Install the Stripe CLI and create a Project
Install the Stripe CLI and the Stripe Projects CLI plugin. In your local project directory, initialize a project:
What you should expect:
A project named my-app (or same as your directory name) is created and populated with .projects configurations, a blank .env, and relevant agent skills.
You’ll be guided to add new services or link existing provider accounts.
Your project is configured with a secure place to keep credentials, and can sync them into local development, CI, or a team secret manager depending on your workflow.
What is a project?
A project is the unit Stripe Projects manages. It’s a lightweight manifest plus a Stripe-backed record of the services you’ve attached, the provider accounts you own, and the credentials those services require. It’s designed to make your setup repeatable across machines and teammates, and deterministic enough for agents to operate safely.
Step 2: Add services from providers
We’re co-designing the integration protocol with some of the most popular providers developers use when building a production-ready stack. The protocol standardizes provisioning, plan selection and upgrades, and credential handoff so the Stripe CLI, and your agents, can do this reliably across providers.
Services available in the developer preview:
@vercel @railway @supabase @neondatabase